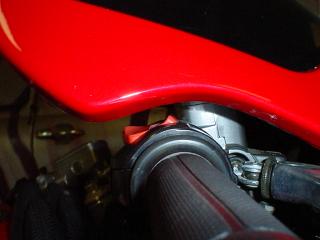
 This is a photo of the left STOCK handle bar, left handgrip in a full right turn lock. As you can see below, the Heli Bar has less clearance. Here it clears, and you could get to the Hi/Lo switch without too much trouble.
This is a photo of the left STOCK handle bar, left handgrip in a full right turn lock. As you can see below, the Heli Bar has less clearance. Here it clears, and you could get to the Hi/Lo switch without too much trouble.
 The is the left STOCK bar, left side, full right turn. There's pretty good clearance above the Hi/Lo switch. With the Heli Bar, clearance is something like 1/4 inch. I'll add photos later.
This is the view from the rear, with the camera on top of the fuel tank.
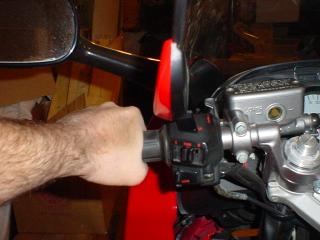
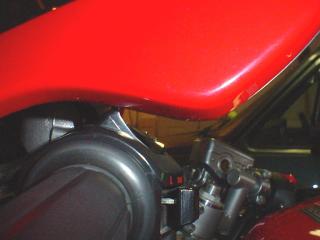
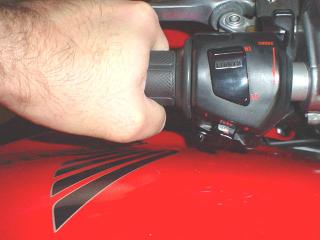
 This is the STOCK left grip, in a full left turn. It also clears the fuel tank.
 Stock bar again. Left grip, full right turn.
 Heli Bar, right side, full left turn. Very little clearance, and less clearance than stock. Still, it's fine. That's the kill switch. As I keep saying, in a full lock left turn, it would be hard to hit the kill switch.
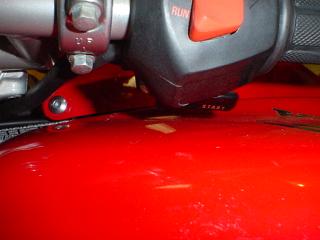 Right HeliBar, full right turn. It is pretty close to the fuel tank. When installing the bars, you have to check both full right and left turn positions, and get the bar "centered" as it were.
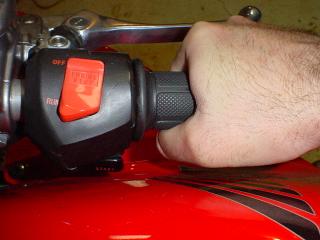 Another photo. Bulky gloves clear, but not by much.
 Left HeliBar, full right turn. The Hi/Lo switch is only a fraction of an inch from hitting the faring. It does clear.
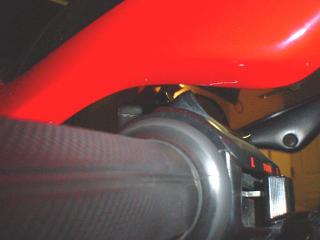 Left side, full right turn.
Here there is just enough clearance to keep from crushing your thumb of you were trying to use the horn and turned the bars full left.
 Left Heli Bar, full left turn.
The clearence it really tight. You'd have a difficult time using the horn in a full left turn. Of course, it would be tricky to hit the VFR horn button in a full left turn with the stock handle bars too.
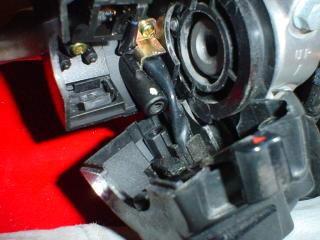
 This is the right Heli Bar, showing the brake line. Heli says to cut the tabs that keep the brake line and clutch lines from rotating during servicing. I didn't. This seems to have worked for me, but I recommend that you follow Heli's instructions.
Both lines are pressed against the triple tree clamp. You can see the line in the center of the photo hugging the bar.
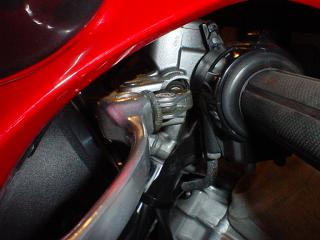
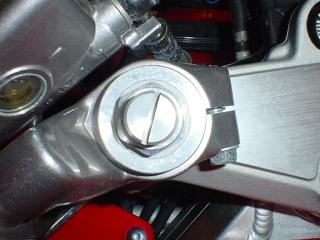 This is the left STOCK bar. Here the clutch line is close to the the bar/top fork clamp. With the Heli Bar, the clutch line is pressed against the clamp, but it didn't seem too tight to me.
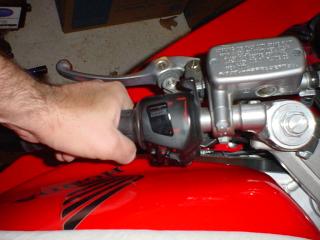
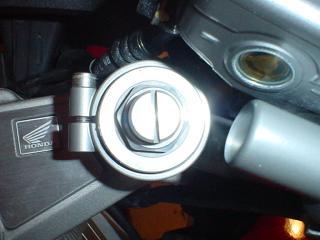
 Clutch MC and line, STOCK handle bar.
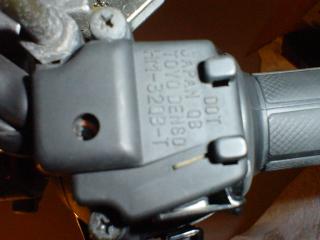 Two screws (top and bottom of photo) on the left switch/hand grip.
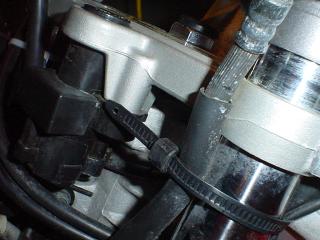 I think this is the tie holding the clutch line. The tie was cut and later replaced. Getting the brake line free of it's retainers was a pain. I did not loosen the connections for either line.
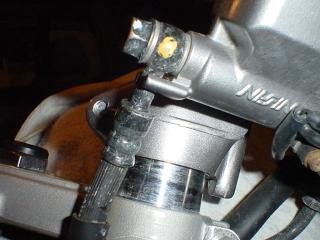 That is the tab you are supposed to cut. The yellow dot is on the banjo fitting. The tab keeps the banjo fitting from rotating as you tighten the bolt. This is a clever idea, but can cause problems when doing modifications.
 I don't know if this is left or right. Probably left. That's the end of the Heli Bar as I'm sliding the switch over the bar.
 Sliding the switch over the Heli Bar.
 More switch details. Note that I covered the tank with a towel to prevent scratches.
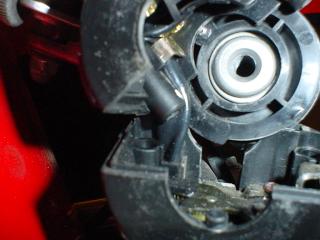
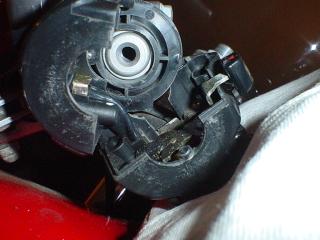
 Details of the insides of the left switch.
 This is the position I used to attach the clutch MC and left handgrip. With the clutch line and all the wires, I had to slide things on most of the way before I could get the Heli Bar over the top of the fork tube.
 There are a few things to watch out for in this photo.
First of all, I had the clamp on the clutch MC. Not recommended. It scratches the paint on the bar. Better to get a helper.
Note the left fork tube top sitting bare.
Also note the sweatshirt (clean) protecting the tank from scratches.
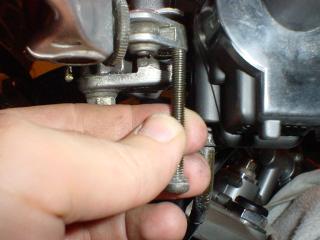 Where the long screw goes in the left switch. I think the point of this photo is that the screw goes in the left/outer hole. Start the screws carefully since they are threading into plastic, and cross thread very easily.
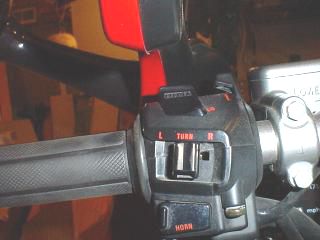
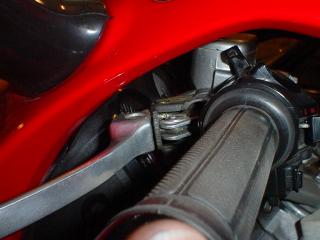 This is the left side, installed. Note the small but sufficient clearance. With the bike turned full to the locks you can't get to the top switch. For example in a full lock left turn, you can't really reach the kill switch. I don't know why you would want to hit the kill switch in the midst of a full lock left turn, but I'm warning you just in case.
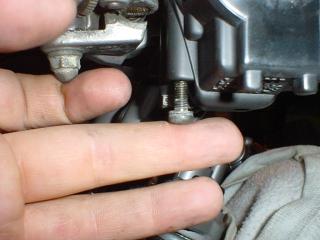 Wow. A photo of a screw. On the right side I replaced the phillips head metric screws with allen (hex) metric screws. I just happened to have the correct lengths. The allen heads are easier to work with because it is easier to get a hex wrench under there than a screwdriver.
I'll add some photos of left and right full lock clearances.