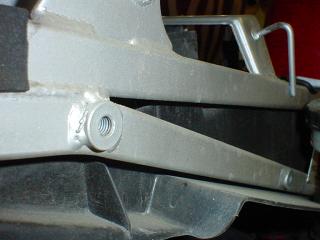
 Rear frame mounting point.
Rear frame mounting point.
Rear frame mounting point.
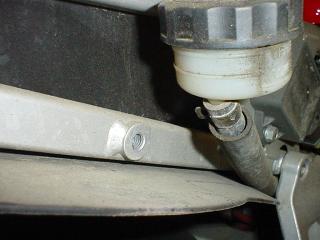 Rear frame mount near the rear brake reservoir.
 Left side rear frame.
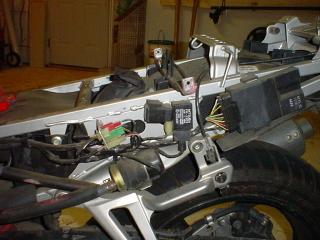
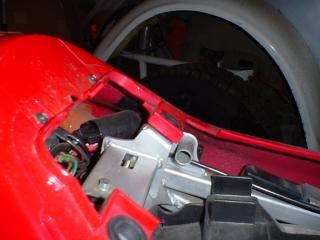
 That black electrical box has to be moved out of the way. It is just kind of clipped onto a bracket.
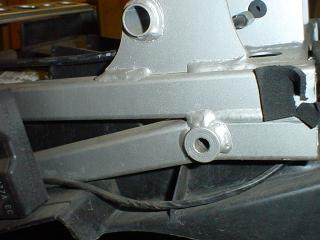 Left rear mounting points.
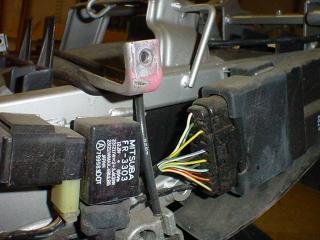 The black electrical thing. You can see it's top bracket.
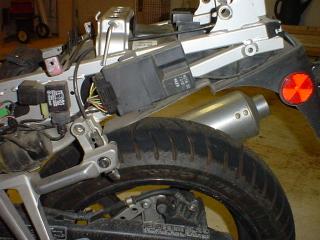
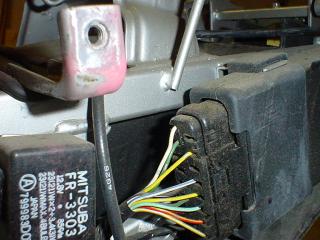 Still on the bike...
 From the rear...
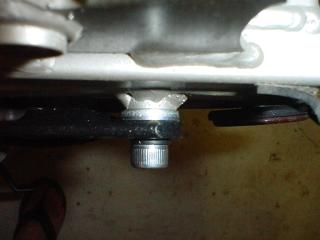
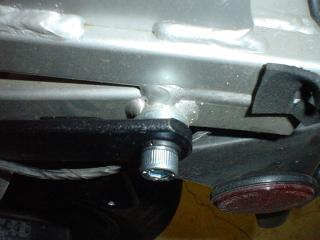 Now we skip to the left rack frame mount in place. Rear bolt.
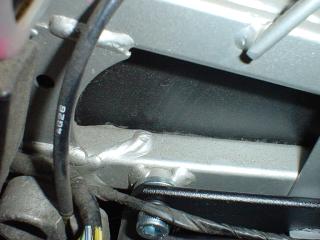 That's the front of the left frame mount at the bottom of the photo.
 Rear of the mount, straight on.
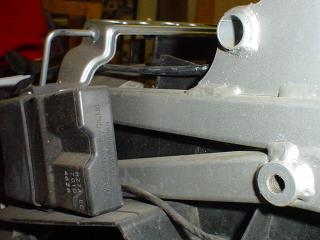
 The left mounting bracket has the cut out that you see in the lower right corner of the photo.
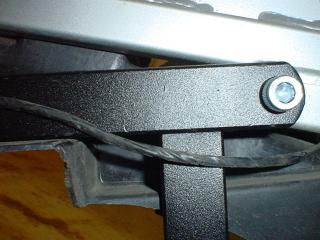
 Top view, bracket front.
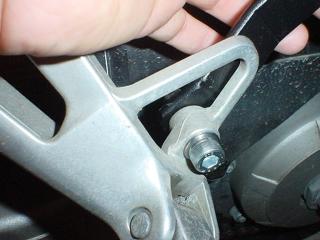 The tubular rack front mount attaches to the rear footpeg. There is already a hole there, and Five Stars supplies all the necessary bolts and nuts.
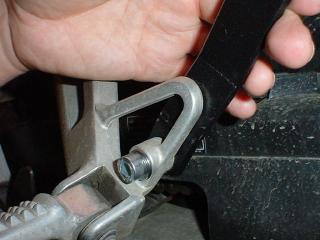 Just make this finger tight. You'll have to move things a bit later.
 The bolts that I used to mount the bracket to the VFR frame.
 Description coming soon.
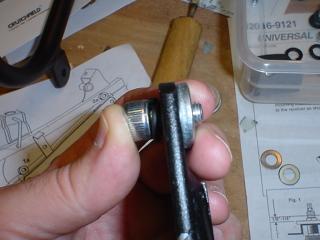 Those bolts are just the right size.
 The Givi compatible lower mounts had little burrs in them. I used a round file to clean up the insides.
 Using a round file to clean burrs.
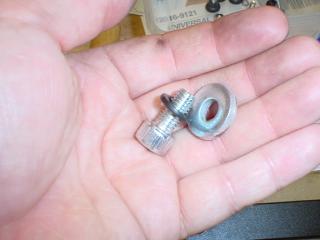
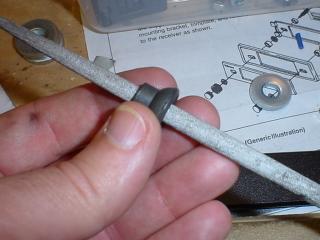
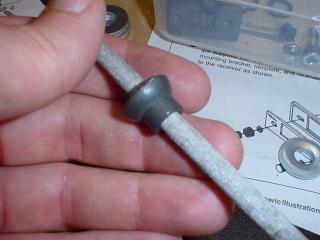
 This is the Givi compatible lower mount with its screw. Use the flat head screws for this. Two of the screws are way longer than necessary. I don't know why.
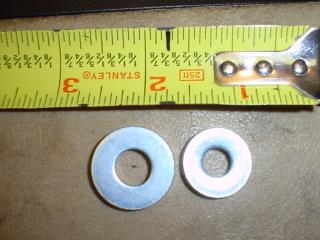 There are two sizes of the really thick washers.
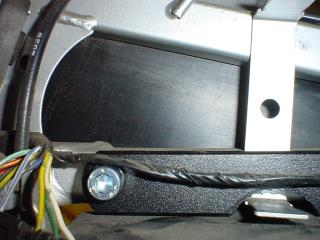
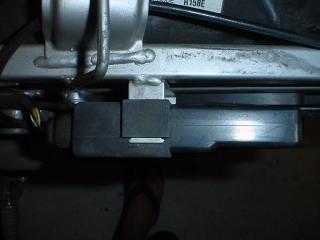 Top view of the left side. The black electrical box is back on its mounts, and you can see the Five Stars mount behind it (above in the photo).
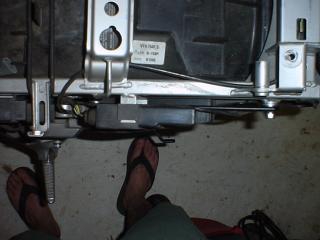 Wider angle view of the left rear sub frame with the Five Stars mount in place.
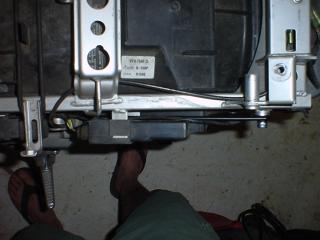 Wide angle view of the left rear sub frame with the Five Stars mount in place.
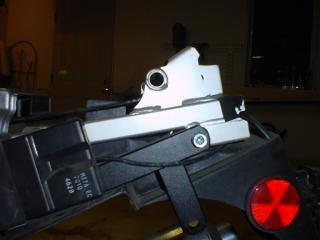 Rear detail. The Five Stars mount is the black bracket bolted to the light grey VFR subframe.
 See how the side cover fits. Carefully get the plastic all lined up before trying to put the screws back in.
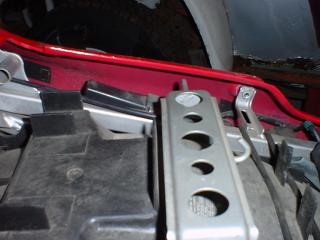 More details of the side cover fit.
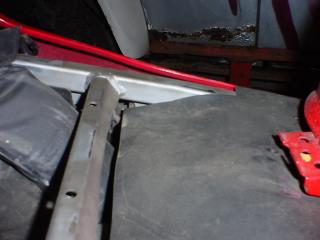 How the side cover looks at the front.