 Rear view of the front panel and engine tray.
Rear view of the front panel and engine tray.
Rear view of the front panel and engine tray.
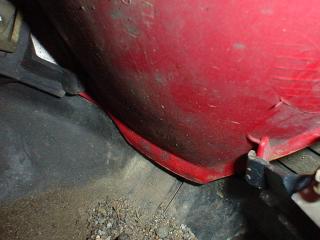
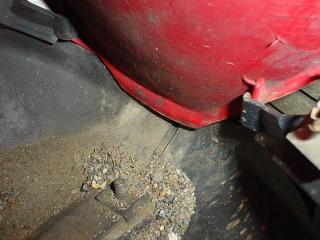 Gravel colleced in the bottom tray. Note how the red plastic part fits to the sides of the bottom tray.
 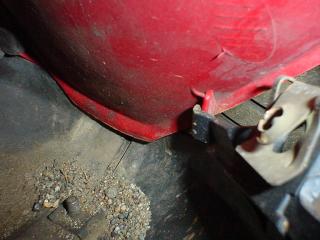 Bottom tray details.
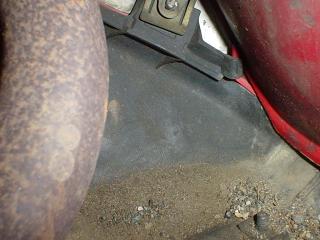 Bottom tray details.
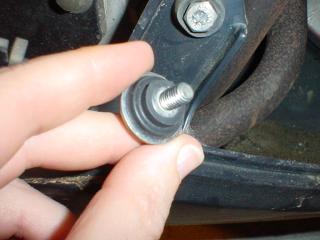 VFR fairing mounting bolt.
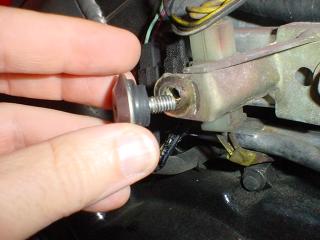 This is the bracket that the mounting bolt goes in. Sadly, that mounting brack is not well positioned to be replace with a frame slider. Dang.
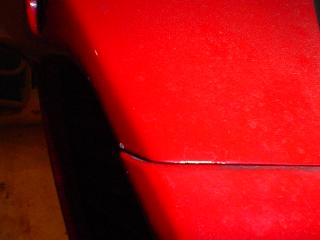 The gap between the lower and upper fairing, left side.
 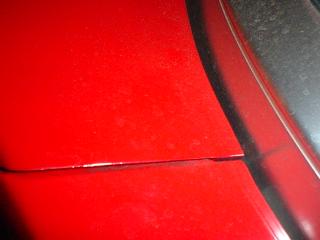 Ditto.
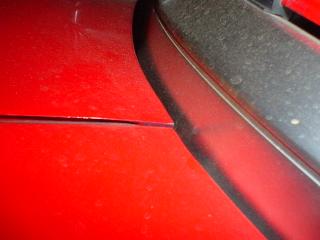 I'm showing this as a comparison to the right side.
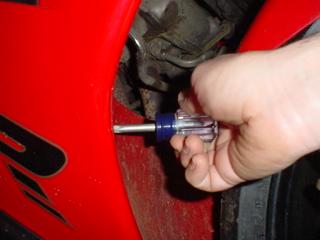 The short phillips screwdriver (from Sears) is really handy for the faring connectors in tight spots. This is behind the front wheel.
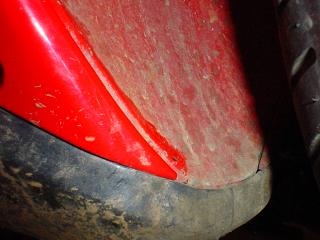 How the center and lower fairing sections fit. It takes some fiddling to get these back together, and the little tabs inside are delicate. I broke one off.
 Lower fairing meets the bottom tray (engine tray) and the center lower section (which is losing its paint.)
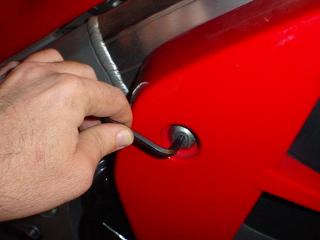 Use a hex wrench on the larger fairing screws.
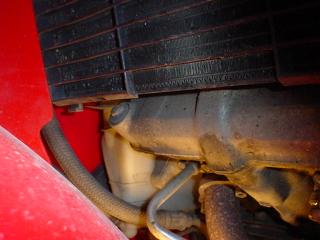 Front of the engine, inside the fairing.
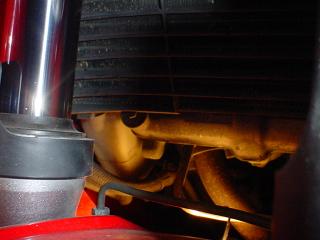 Front engine stuff.
 Radiator, and the front of the VFR engine.
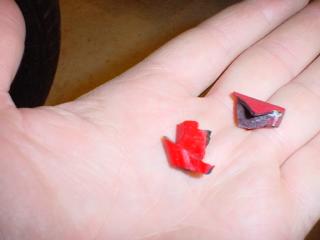 These are the little tabs I broke off getting the lower fairing to fit. I swear I didn't force it.
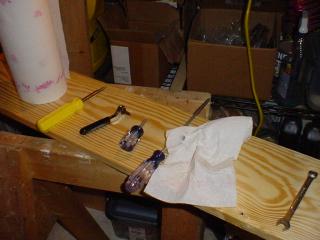 Fairing tools. I don't know if I really needed the right angle ratchet screwdriver.