Front Suspension
I used a 5 foot section of iron pipe to drive out the bearing from the opposite side. This happens after removing the center section. Next, use a flat bladed screw driver to bend/pry that brass bushing. It's got a slot. Bend it enough to push it out, then use the screw driver to chisel out the composition bushing. It goes pretty quick the third or fourth time you do it.
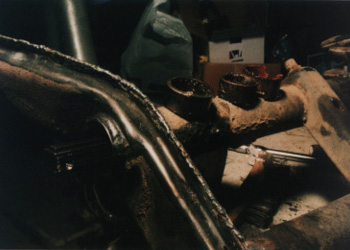
A close up view of my continuous welding along the seam of the shock tower. This little exercise was fun, and made a huge difference in my welding skills. All welded areas were first prepped with a wire brush on the high speed grinder.
I didn't have any trouble getting the torsion bars through the adjuster. You have to remove the adjusting bolts, and rotate the adjuster to expose the locking screw. To keep the torsion bar packs together, I just put two plastic zip wire ties on each. The wire ties hold things together, but slip along the torsion bar pack as the bar slides through the adjuster. Yep, the wire ties are still inside my torsion tubes.
Put the beam back in without the torsion arms, etc. I put in the torsion bars, but not the arms or any other junk. A partially assembled front beam is lighter and easier to assemble. I did this by myself, since all my so-called friends were doing something else besides back breaking work on greasy VW front ends. I'm kidding, but my friends were busy, so I did all this without help. The floor jack was indespensible. I balanced the assembly on it, and raised it into position. My girlfriend did so some wire brushing with the grinder (Thanks Lynn!). We cleaned up the whole thing, then I primed, painted and undercoaded the entire assembly.
When reassembling, don't forget to put the rubber bushings on the upper body supports of the beam assembly. I forgot until the very end, and had a bear of a time lowering the now completely assembled beam.
