The VLX battery is a little tricky to get to. I think with some care, most people with a little mechanical ability can handle changing the VLX battery. You only need a 10mm wrench and a screwdriver or two, and some patience.
Click any image for a larger view.
Remember, remove the negative wire first, and put the negative on last. Negative is black, and there is a - sign on the battery.
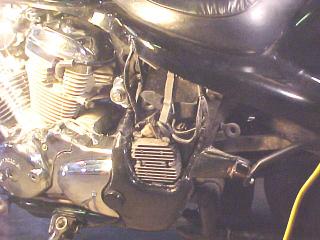
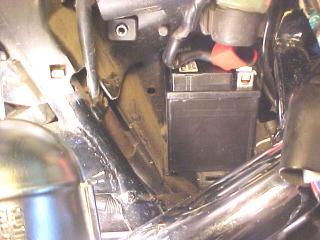
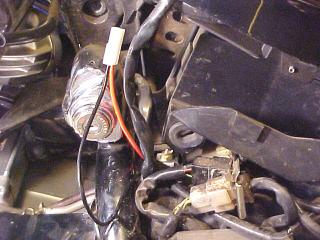
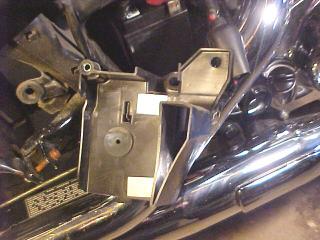
You'll have to remove both side covers, and on the right side, you have to remove two bolts that hold the fuse block/battery cover in place. The battery comes out from the right. You must remove on battery terminal connector on each side. The most difficult side is left, which we see in this photo with the side cover off, and the tool kit removed.
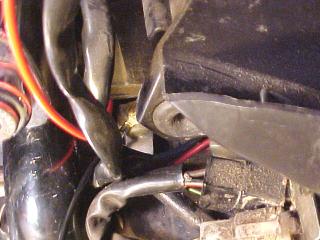
Here is another view of the left side, with the cover off. The battery wire is below and kind of behind the ignition switch. This is the negative side on the 1996 VLX, so here. Remember, negative comes off first, and goes back on at the very last.
You'll need a long screwdriver, and you'll have to use it at an angle to get in there. a tiny ratched screwdriver might also work.
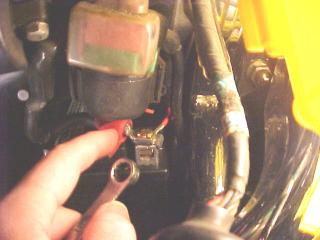
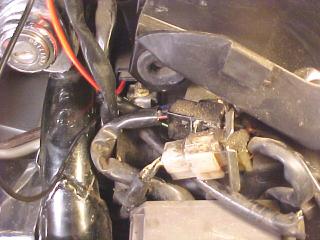
Now we are looking at the right side. this was taken towards the end of the project. We see the positive wire with a red boot, and the red wire that goes to the battery charger plug that was added.
On the right side, you can use a small 10 mm wrench to work on the terminal bolt. Don't over tighten the bolt.
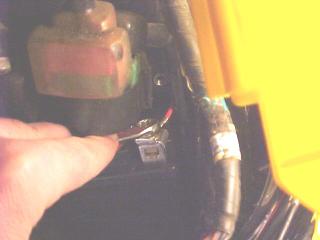
This is a close up of the positive terminal. It is a hex head bolt, with a slot for a screwdriver. I seem to recollect that you only need to loosen the bolt half way and the positive terminal can be slid out.
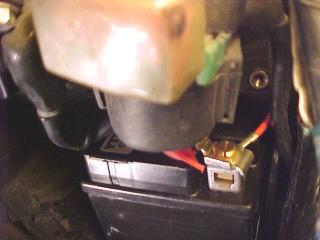
The battery in place, right side of the motorcycle.
Back to the left side. The terminal is kind of hard to see, but is has a brass contact on it, and is near the center of the photo. The left side of the Honda Shadow VLX battery is tricky.
The orange/red wire is not connected on this side, but crosses over to the left side.
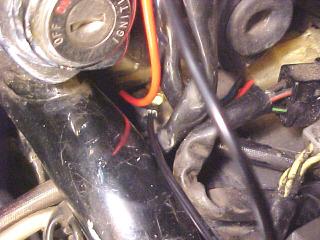
Another close up of the negative terminal on the VLX battery. Here you can see the black charger wire in the center of the photo. The black and red charger wires go to an external plug that is not in the photo. The charger wires are optional, and came with a small maintenance charger.
The negative terminal is near the center of the photo.
The white plug is the external connector supplied with the small charger.
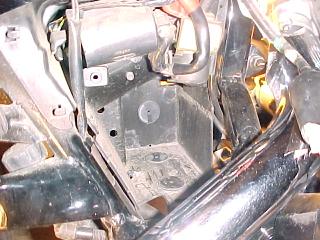
This is the back of the fuse right side battery cover.
You have to remove two screws in the fuse block, and carefully pull this dover back. The triangular section helps hold the battery in place. You'll have to replace the VLX battery with a battery that is exactly the same size and shape.
 The VLX battery is a little tricky to get to. I think with some care, most people with a little mechanical ability can handle changing the VLX battery. You only need a 10mm wrench and a screwdriver or two, and some patience.