1989 Golf door panel removal and vapor barrier replacement. These photos show the process of getting the door panel off without damaging it, and then replacing the vapor barrier. The so-called vapor barrier is really a curtain/seal that keeps water out of the car. The water runs down the barrier, and drains out the bottom of the door. The drains are outside the door seal, so the water runs out of the car, not in. In fact, even if the door seal were bad, the water will run out, as long as the 'vapor barrier' is good. Therefore, the vapor barrier at least as important to a dry car as the door seal. The door seal will keep water from the roof/gutters/top of the door out of the car.
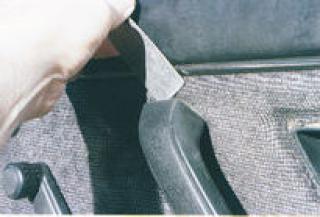
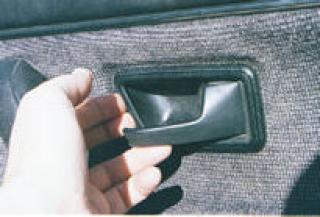
In the photo to the left, I'm pulling the door opening lever, and sliding the trim towards the rear of the car. The trim piece lifts off.
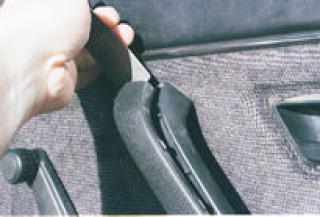
Carefully pry the center cover of the handle off. Remove the two large phillips head screws and the handle comes off.
Once you have the handle trim started, you can lift it out.
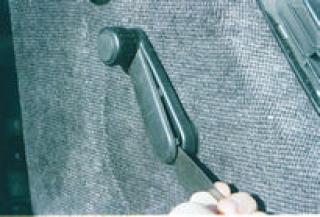
Window handles also have plastic trim. There is a single screw and star washer holding the handle on. Note the position of the handle. When reassembling is a good time to reposition the handle. For example, when the driver window was open the handle bumped into my knee. I repositioned it so that it didn't hit my knee with the window open or closed.
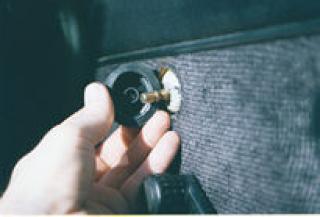
Carefully remove the rubber boot on the mirror adjuster. This has a very snug fit.
There are some flat head phillips screws at the front and rear of the door. I seem to remember using a very short screw driver on the front screws.
Remove the door lock button. It unscrews.
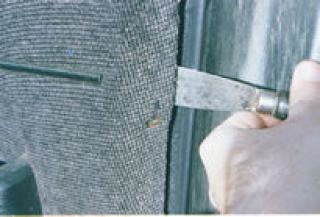
The trim has 4 plastic retainers behind the screw holes with outward (towards the outside of the car) pointing barbs. Carefully pry slightly away from the retainers.
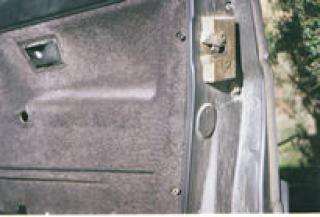
What the panel looks like 1/2 off. The panel sits in some U shaped hooks at the bottom. Tilt out at the top, then lift.
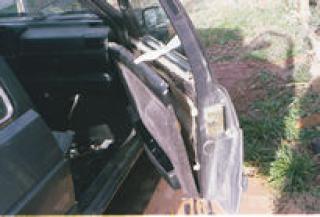
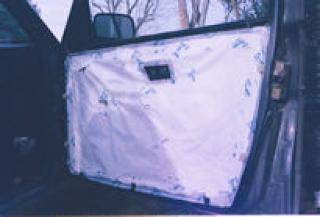
Save the foam trim. Note that my vapor barrier has pulled away from the door in several places. Instead of keeping water out, it was guiding it in. The bottom of my trim panels is mildewed.
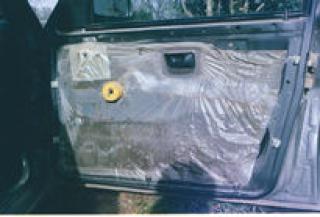
After cleaning up the old mess, I cut a new vapor barrier from Tyvek�, temporarily taped it in place for a final trim, then taped it in with Tyvek� construction tape. Be sure to have at least 1/2 inch of tape overlapping the metal of the door to make a water proof seal. Try not to tape over the small holes about 3/4 inch up on the bottom. These let water drain back into the door, instead of being trapped between the barrier and the lower flange.
Cut holes for the window regulator, opening lever, handle, and mirror.
 1989 Golf door panel removal and vapor barrier replacement.