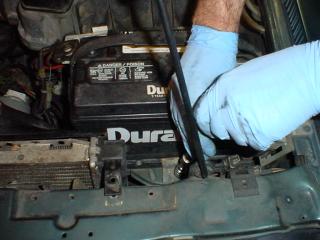
 Use several ratchet wrench extensions to get to the battery retainer nut.
Use several ratchet wrench extensions to get to the battery retainer nut.
Use several ratchet wrench extensions to get to the battery retainer nut.
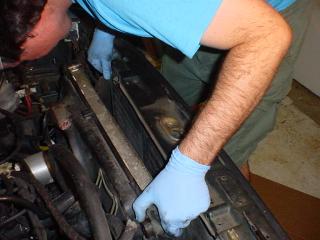
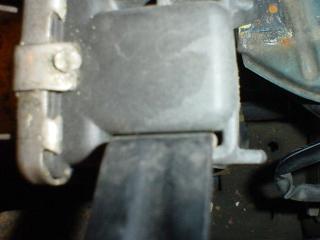 The radiator brackets slide into a slot on the radiator. Take the brackets out and use them on the new radiator.
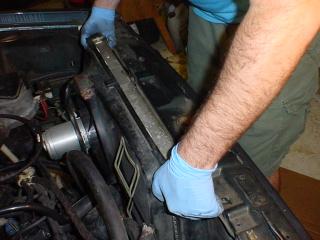
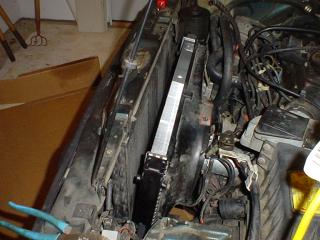
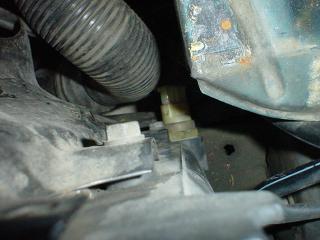 That flex hose is the fresh air inlet for the engine. I removed it to get a better grip on the temperature sensor plug. The sensor is the brown thing in the center of the photo. We are looking at the left side of the engine bay. The battery tray is in the upper right of the photo.
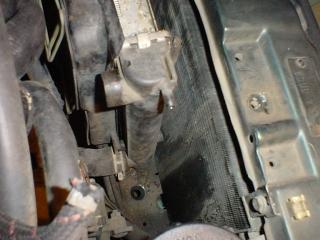
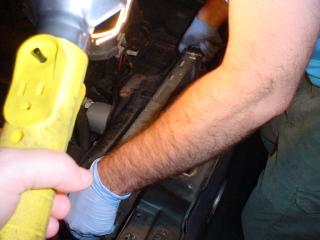 Gently lift out the radiator. It is only held in by the two brackets on the top. The bottom has pins that fit into holes on the car. Save the rubber bushings on the bottom of the radiator.
 There is a carboard air deflector on the left side of the radiator (driver side of the car). Save it also.
 Lifting out the radiator.
 The fan and all comes out.
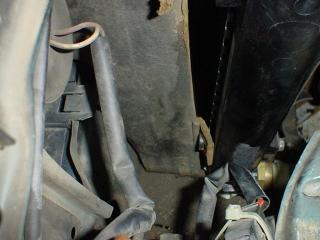
 Oh, dont forget to disconnect the overflow hose, seen here in the bottom left of the photo. This hose is right next to the upper radiator hose.
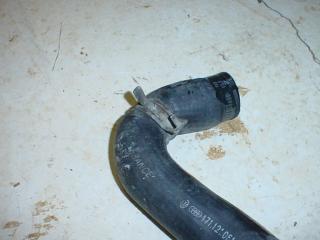 This is a sure sign of a stupid mechanic. That is the factory spring hose clamp still in the middle of the hose.
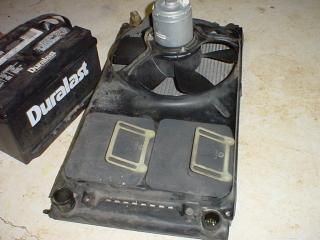 The radiator out of the car. Four screws hold the fan to the radiator. Remove the fan and its shroud as a single part.
 The air flow cardboard. Save this.
 Attache the fan and shroud to the new radiator. Be careful with the screws because you are putting screws into plastic.
Transfer the temperature sensor to the new radiator. Keep the gasket, or replace if it is messed up.
The nice, shiny radiator back in the car, but not screwed in place.
 Make sure the pins on the bottom of the radiator go in the correct holes. Make sure the rubber bushings on the bottom are in place.
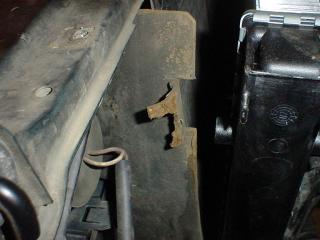 That cardboard. Mine got kind of mashed getting it out of the car.
 The cardboard has some flaps that hook onto the radiator.